Showing posts with label artist tutorial. Show all posts

Feb 17, 2012

Painting Watercolour using a Wet-in-Wet Technique

Last summer I made this time lapse video of painting a watercolour using a 'wet-in-wet' approach. That means painting onto wet, cotton paper using wet paint!

Today I added a voice-over to the video. The sound isn't great because I didn't use a microphone - just the built in one in my imac. Still, if you crank up the sound, I think you'll be able to hear it OK.


Working "wet-in-wet" is so intriguing because the dampness of the paper, which is made of cotton, creates a softness, a luminosity and an unpredictability as the paint colours mix together and change.

My inspiration came from a small monoprint I made using the watercolour on plexiglass technique that I've recently written about. I projected it onto a full sized watercolour sheet. Then I traced around the colours using a white oil pastel crayon and applying a lot of pressure on the paper. That line of oil or crayon will create a barrier for the watercolour and will work as a resist.
This is the original monoprint that I drew my inspiration from.

Using a mechanical aid and working from an existing piece of art were departures for me - it kind of felt like cheating. What I learned from it is that I could focus on the actual painting because the colours and composition were already worked out.

I'd like to try it again now during winter while I wait for flowers to grow.

Here is another example of enlarging a sketch onto watercolour paper. This is a sketch I made on location at Brier Island a few years ago.

Brier Island's Big Pond.

The resulting enlarged watercolour.
Here is a very short video of the painting process. It works best if you paint watercolours from light to dark.


Why don't you give it a try?  It's interesting to work on a piece that is so much larger than the original. 

Jun 25, 2011

Acrylic Painting - The Red Tulips


In the Sunlight
30" x 36" acrylic on canvas by Flora Doehler SOLD
at the Flight of Fancy, Bear River Nova Scotia


After months of flower deprivation, it was so exciting to find tulips for sale in the grocery store mid winter. One of the disadvantages of living in southwest Nova Scotia is the almost complete absence of flowers in the wintertime - except for expensive roses.
Red tulips against the snow. I would 'fake' a spring backdrop for my painting.

I have a strong need to paint from life so this aspect of life here is a real challenge for me.! It is a great feeling to be present with a living flower and to sense the life force of it. Sometimes I paint from photographs I've taken, but it's not as satisfying an experience for me.

The first marks on the canvas are the hardest.
Although I try to abstract the scene and even change what I am actually looking at,  when a painting is working for me, I  get lost in it and I feel like I am channelling the essence of the object of my gaze.

At this stage, my focus is the colours.
Every painting evolves differently. Some come easily, others are trickier and need more time. The trick is to stay fresh and positive about it. Just like with life's challenges!

This painting went through quite a few stages and changes before I finished it. You can watch this development in the movie I've made for you.


I decided to create large areas of calmness in the painting–a departure from my usual style of creating texture and movement on every square inch of the canvas! The architectural shapes in the work let me experiment with mixing geometrical and organic shapes.

I really liked the dripping paint on the bottom of the canvas, but I finally had to let it go and tone it down so that it wouldn't compete with the drama of the tulips.

I love the way tulips nod their heads. The shapes of their leaves and stems are so beautiful and delicate. I really enjoyed being in the tulip universe while painting this.

You can visit my painting at the Flight of Fancy gallery in Bear River where it is for sale.


Mar 12, 2011

When is a Painting finished?

22" x 22" Acrylic on Canvas. Painting by Flora Doehler, 2011.

Occasionally I'll read an article about some old Masters painting that was x-rayed to reveal another painting underneath. The writer will seem amazed and surprised by this. Oh, if those writers only knew how common this is for painters!

These past couple of weeks I've been trying to discipline myself to finish up some of the unfinished canvases I have accumulated in the studio.


These paintings are under the finished piece. I still like the first one. It was fresh and spontaneous. However, I prefer my latest version of this.

I found some paintings that I don't like anymore. Either they don't intrigue me or they just don't have the movements and/or color that I like to achieve.

When I'm not happy with the outcome of the painting I like to use it as a background for a new one. So rather than paint the whole thing out in one colour and start 'fresh', I like to incorporate aspects of that old painting into the new.

Pushing the paint away to reveal the colours underneath.

This painting morphed several times. In its last three incarnations it hung in my studio like a reproach saying “are you really satisfied with me?” I would stare back at it and try to imagine what it could be. I'd pick out the parts that I really liked and visualize how I could retain them and change the rest. I'd think about what colors to obliterate and then every 6 months I'd take it off the wall and work on it some more.

Tulips lift my heart!
Still inspired by yet more tulips that I found in Digby at the grocery store, I decided to turn this back into a tulip painting. I wanted to calm down the yellow and red while retaining glimpses of those exciting colours. 

I squirted matte medium over the entire canvas and then brushed first blue paint, then green over the canvas in strategic places. I used my rubber tipped color shaper to pull away some of the blue and green pants to reveal the tulips underneath.

Adding matt medium slows down the drying time so there is time to shape and scrape the surface.

Finally, I brushed some red and yellow on top of the painting to suggest the tulips.

I am happy with the outcome of this painting. I like the colours now. The green and blue create a movement in the painting that I think expresses the energy those flowers transmit. The tulips explode to the surface.

However, that could change in another 6 months. When is a painting finished? That can be a very tricky question.

I paint on a flat surface so that the matt medium and fluid acrylics don't run.

What do you do with your abandoned paintings? And how do you know when a piece is finished?

I'm loving that green that I bought in Vancouver and flew out here to the east coast last November.


Feb 27, 2011

Lost and Found - Painting all Over

Painting details. Click on the images for a larger version.

In my continuing attempt to deal with unfinished paintings, I came across one of an amarylis flower from last spring that lacked the energy that I found in that beautiful bloom. I loved the reds and I felt attached to the colours in the painting, but not to the outcome.

Amarylis 2010-2011

In the end I felt my painting was overworked and I work very hard at painting in a loose and free manner. It requires concentration and confidence. If I allow doubt and hesitation to take over, the marks and strokes reflect that and the work looses it's fluidity. My painting confidence comes from regular painting but also enough sleep, feeling good about other things, great food, company, music and surroundings. A painter friend of mine said it perfectly: "I live in a state of constant angst about painting covered with a thin patina of confidence." There is so much that goes into a painting! It is a mysterious alchemy.


Waiting for the thaw.


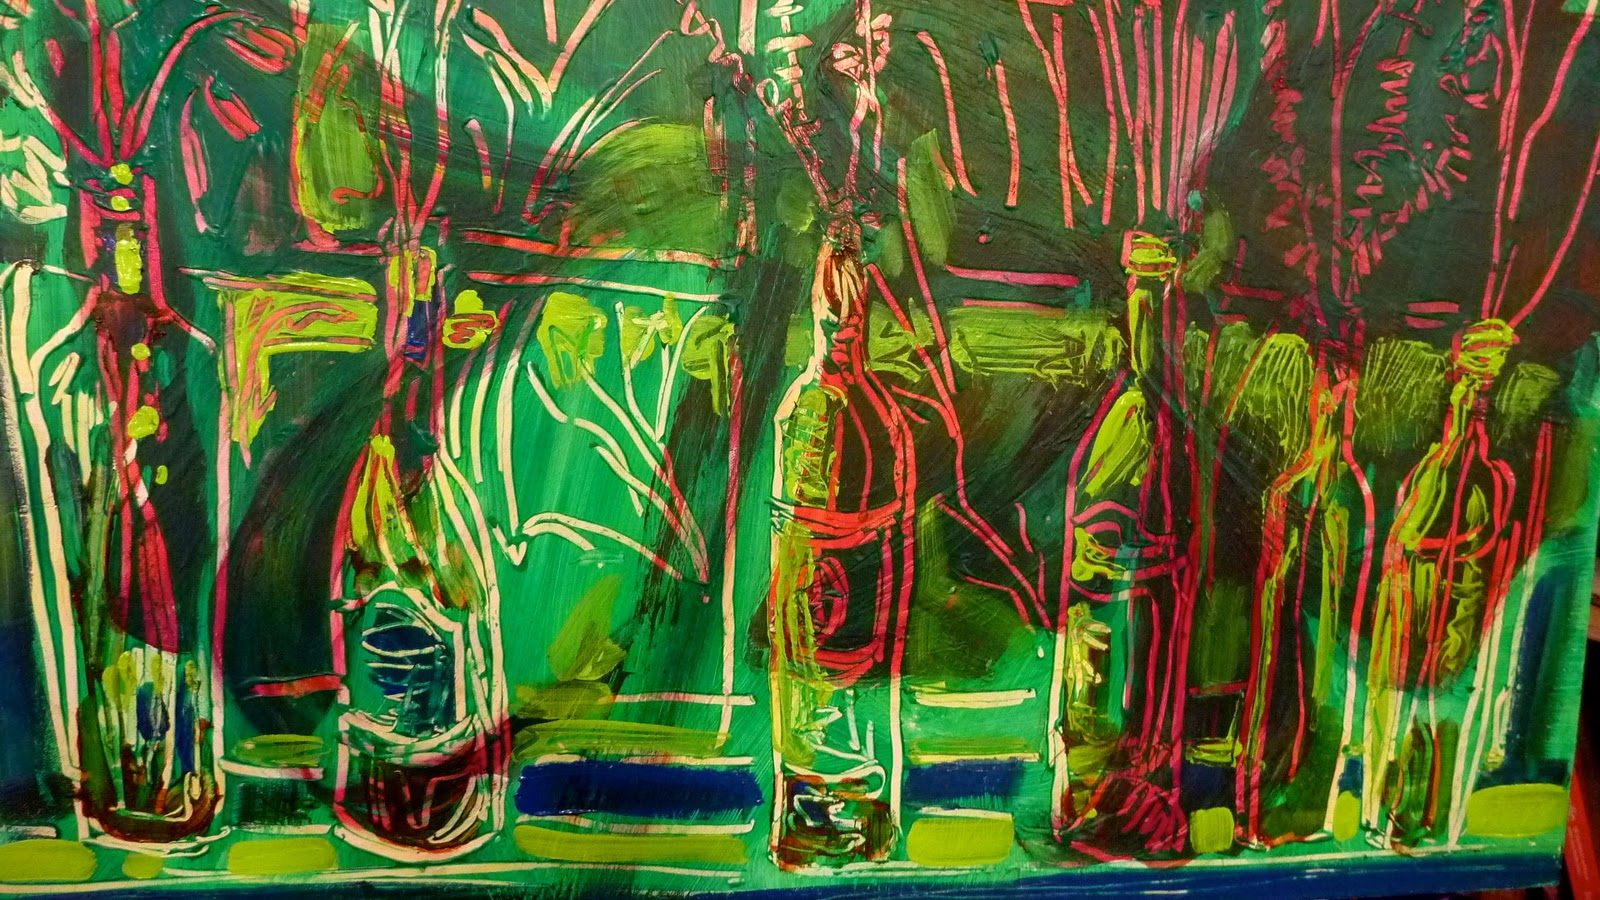
I've been admiring for months the colored bottles in my windowsill that hold seed pods from last year's fields. My friend Pamela came by the other day and said “Why don't you paint those green bottles?” The question had occurred to me as well – I just wasn't sure how to approach it.

And then as I was going through my pile of "unfinished paintings",  I came across the Amaryllis. I decided to use it as the background for my painting of the bottles because red and green are complementary colors and are very exciting together.


A chose a pthalo green for this painting which I rarely use. Honestly, I'm not very fond of that green at all (although I love it in this painting!). But I wanted a contrast for the red underneath. So against my emotional judgement, I smeared a combination of the green, a touch of zinc white and gel medium over the entire canvas.

Scraping the green paint reveals the painting underneath.
The gel medium delays the drying time and enables me to scrape the paint away right down to the color on the canvas. I use a rubber tipped “color shaper” for this.
The big advantage of painting over another painting is that it really eliminates the “fear of the white canvas phenomena” :-) It also creates unintentional surprises when the two realities of two different images combine or collide.
You can see in this photograph that the Amaryllis is still showing through the green. That transparency is because of the gel medium that I added to the colors.


I really liked the intensity of the red against the dark green.
Because of the green, I was drawn to put some blue highlights into the painting in a cerulean blue colour that I also rarely use. I also added a red oxide. In other words, because I had stepped away from my usual palette with the green, I was compelled to use colours that I seldom use. 


Some strategic opaque greens obscure the flower head.


I'm very happy with the looseness of this painting. I like the feeling of a woodcut and the suggestion of a drawing as well. The 'hidden' painting has brought this canvas to life.


Hidden in the Shadows. Acrylic painting by Flora Doehler, 2011.

This photo gives you an idea of the size of the canvas. 

Painting seed pods with a creamy colour bring the stalks forward.

If you are interested in purchasing this painting, please contact me at 
flora.doehler[at]gmail.com

Jan 31, 2011

Dyeing with Rust on Fabric

Rust on linen and photo transfer by Flora Doehler.
I've been experimenting with dying rusty objects onto fabric. Fabric artist friend of mine, Marilyn Preus, used this technique in one of her beautiful wall–hangings and I had to try it out for myself!
The key ingredient for this is to find rusty objects and we still have quite a few of those in our barn. Thank goodness I didn't throw everything out when we moved in last year.


Suddenly all those funny bits of nails and who–knows–what seemed like a pirate's booty and I was so glad that we haven't quite got to sorting things out in the barn.  I was also glad that we saved so many of the handmade nails that came out of our house during renovation. They have all rusted at this point and could be used for my project.


 Iron nails that are more than 100 years old.

 Rusty nails, hooks and buckles.
 Rust dyeing works best on natural fabrics so I used cotton canvas,  linen, and silk for my experiment.  I also tried dyeing a piece of polyester-cotton but the results were very poor.

After placing my pieces on the fabric, I squirted the entire pieces with vinegar until the cloth was saturated.
 Rusted pieces laid out on poly cotton and silk.
 I slipped the plastic board that held the fabric into a large plastic bag and let everything sit for 48 hours.

 Vinegar dissolves rust.

 My art room smelled like a fish and chips store for a few days!
 I wanted to use a ribbed pattern to dye the cotton canvas  and I found just the thing in an old wood stove pipe that is resting in the backyard.

 Thankfully this old stove of ours missed the dumpster.

 I brought the stove pipe into the house, and wrapped the cotton canvas around it. Then I poured vinegar all over it and place it in a bag where it sat for 48 hours.


I loved the result when I unwrapped the cloth but unfortunately I washed it before it had a chance to really set so I had to redo my steps again. I learned to rinse in cold water and then let the cloth dry and sit for another 2 days before attempting to wash with soapy water.


The shapes that the ribbing in the stove pipe made are reminiscent of a birds wing. I am now looking for donations of rusted rebar because I think that would be very cool.

 Rust dyed canvas from rusted stove pipe.


Why this experimentation with rust dying?  I am working on a piece for a show here called “Pirates and Outcasts”. This art show will be part of a Bear River Winter Carnival event. Both are wonderful opportunities to have fun in February.

I have been working with an image transfer as well. It's an abstracted photo of young men sailing to this new world in the early 1930s. These men were in their 20s and are probably all dead now.  One of them was my father although this isn't a portrait of him per se.  In the piece I create, I want to suggest the impermanence of all our situations as well as suggesting that immigrants are both casting out and are outcasts.

 I have ideas floating around in my head,  but there are still the technical details to master!


This piece was on linen and although I liked the placement of the metal pieces, for some reason I had difficulty getting enough rust on the cloth.


After a couple of attempts I decided to roll up the cloth with those rusty pieces and spray the heck out of it and shove it in a bag for three days!


 When it was finished it certainly had a lot of rust marks on it! The shapes weren't as controlled as I would've liked them to be and in retrospect I wish now that the photo image transfer had been larger.


I also rusted a piece of silk and discovered that the most interesting results happened in rusting this piece. Look at the detail in this piece of fabric, especially where the spring was placed.


It is back to the drawing board for me or to the rust heap!  I am also experimenting with the image of my young men with paint on a canvas which I may show you next… and there is also the landscapes  that I continue to work on… plus I just dug out my weaving books and am considering threading the loom again....  so much to do–lucky me!
Posted by Picasa

Jan 19, 2011

Daily Painter Edward B. Gordon

Edward B. Gordon is a painter living in Berlin. This video is a fascinating glimpse of his studio, his method of working and his love of composition.
Check out his daily blog at http://edwardbgordon.blogspot.com/

Aug 25, 2010

Painting the Historic Gardens in Annapolis Royal

In the Begonia Garden by Flora Doehler, 2010. 8" x 8"

This past weekend I joined over 70 artists to 'Paint the Town' in Annapolis Royal. This annual fundraiser for the local Arts Council is a great opportunity for artists to show and sell their work and for collectors to watch artists at work and to buy art at reasonable prices.
The Annapolis Region Community Arts Council (ARCAC) has sponsored the event for years and the weekend runs like a well-oiled machine. Artists arrive from all over Nova Scotia...over 7o painters this year. The artists set up all over town.
Plein Air Painting kit

If you are curious about the contents of my painting kit, click on the photo and read the notes at Flickr.
Volunteer 'runners' circulate and pick up the finished pieces in pizza boxes and take them back to the gallery at the Legion where they hang for sale all day with a 'gallery' price determined by the artist. At 5 o'clock the unsold work is auctioned by silent auction. The Arts Council gets 50% of the amount and thousands of dollars are raised this way every year.

The Artist entry fee is $12.

I was thrilled to be able to set up my paints at the Annapolis Royal Historic Gardens. This park is an oasis of flower garden beds organized around the centuries of the town.
The first morning I scouted around the park with its ancient trees.


I set up in a great spot with dappled light under towering trees. The begonias were a riot of colour and were nicely contrasted by blue salvia flowers. I pulled out all my gear and promptly dropped my piece of German Plum Cake upside-down on the grass. Not to be discouraged, I brushed it off and enjoyed it with my coffee while I studied the flowers and thought about my painterly approach to them. Meanwhile birds hopped around and sang and it was wonderful to be there.

Surrounded by happy flowers.
Wonderful until I realized that I'd forgotten to bring containers for my paint water!! I finished my treat and headed for the recyling bin where I found plastic juice containers! My sharp knife soon transformed them into water jars and it was smooth sailing after that.
Here are the works I painted in the Begonia garden on Saturday. (Click on the images to enlarge them.)


The next day, Sunday,  I spent the early morning in the Victorian Garden while there was still some shade to work in.

The colours were vivid and the zinnias were taller than me. At one point a butterfly was brought out and released to much fanfare.

This was my largest painting. I used up all my matt medium on it.

My Sunday problem was that I ran out of matt medium! It's an essential part of my kit because I use it to get the scratching-in effect in my paintings. I searched out other artists in the park and was given some by artist Shannon Bell and when that ran out, a bottle of the stuff from Louise Baker, an artist with a love of colour who lives in Halifax. Thank you Louise and Shannon!!!

Here are the paintings I did in the Victorian Garden until the sun drove me away. (Click on the images to enlarge them.)
After the heat of the flowers and the sun, I decided to seek out a cool, shady, quiet spot. I found this at the Lily pad pond.


The mosquitos thought it was a pretty nice spot too, in spite of my liberal spraying of citronella. In fact a couple wandered by while I was painting and asked me if I could tell them which flower was giving off that scent. I told them that I was the flower and we had a good laugh over that.

The challenge here was to edit the elements down to make sense of the scene in a painting.
They were visiting from Montreal and I told them about the silent auction. They later lost out on the bids for 2 of my pieces, but found their way to our studio the next day where they bought 2 paintings that I had been working on in my garden. Here is one of them:

Nicotiana
Nicotiana in garden chez moi.

It was truly wonderful to connect with some of the people who bought my works. Over half of the purchasers and bidders had watched me paint in the park. They connected with my interpretation and they also connected with the setting. I think it was nice for them to see the process (well, not the dropped plum cake part). Oh, did I mention that all 12 paintings and sketches that I did over the weekend sold? It's three days later and I'm still flying high about it.
These were my paintings at the lily pond. (Click on the images to enlarge).


At the end of the day I sketched the scene for myself with marker and brush on damp paper. A charming woman from New York walked by to admire it. She thought it would make a gorgeous wallpaper. I told her that it was my souvenir of the weekend and she suggested that I offer it at the silent auction so that she could bid on it.
Well I did and it sold for $50. Here it is for you to see:

The Pond sketch on 9" x 12" watercolour paper. ( The paper is actually white)
Acrylic paint brushed into damp paper.

It was an exciting weekend on many levels - wonderful to meet painters, wonderful to have such a positive response to my work, wonderful to create in such an inspiring setting. And, wonderful to earn some money too which was just as well because our house water situation was failing while I painted.

See you next year at Paint the Town!

photo courtesy of Trish Fry, Annapolis Royal Historic Gardens.
Related Posts Plugin for WordPress, Blogger...